
Create an appointment
If you have not used appointments before, learn more with get started with appointments.
How you create an appointment
All healthcare professionals in a unit can create an appointment. For example, it is possible to manage appointments for video consultations for a colleague.
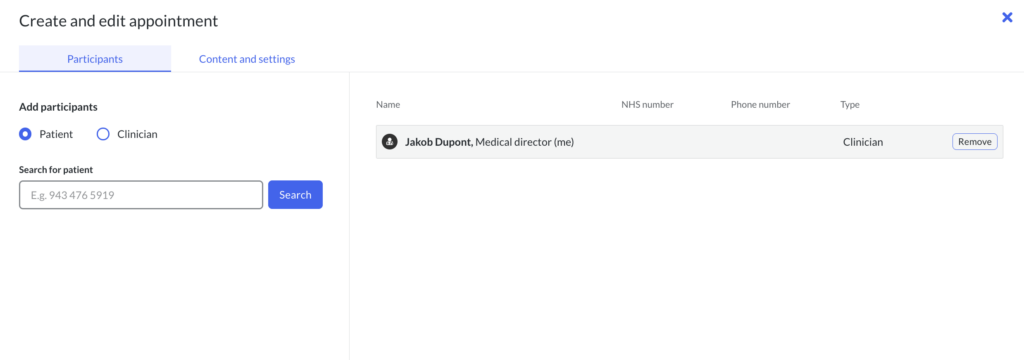
- Login in and go to the main menu for your unit.
- Select “Appointments”.
- Select “Create appointment”.
- Add one or more patients.
- Add one or more professionals. Choose to remove yourself if you’re not participating.
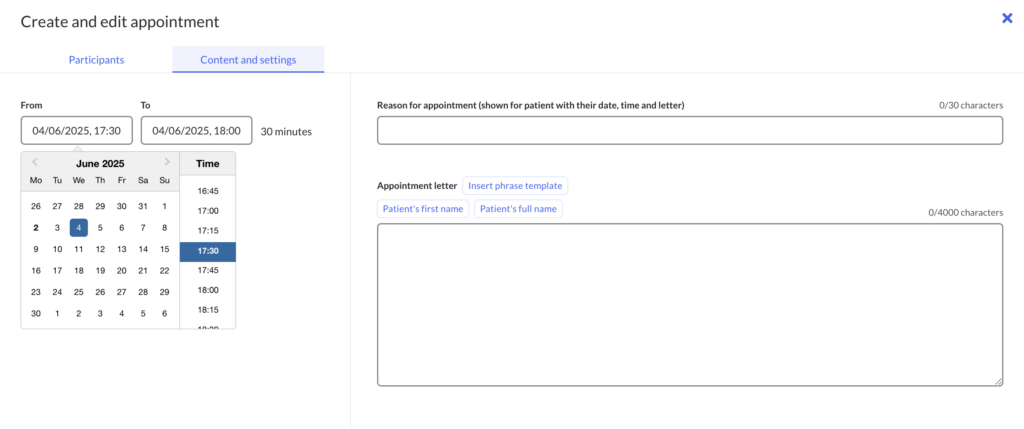
- Continue to “Content and settings” to create the content/appointment letter. It is possible to navigate between the tabs “Participants” and “Content and settings”.
- Select date and time.
- Write a reason for the appointment. The patient can read this in their appointment letter.
- Write the content for the appointment letter. It is possible to use phrase templates.
- When you are ready, select “Create appointment”.
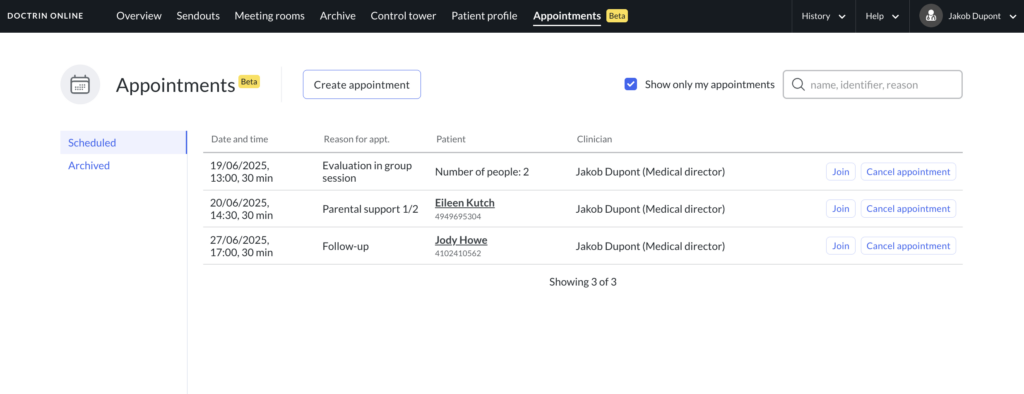
Once an appointment has been created, it appears under the “Scheduled” tab, sorted in ascending date order. Appointments that have passed the current time are automatically moved to the “Archived” tab.
How to cancel an appointment
- Find the appointment that needs to be cancelled in the list of all appointments.
- Select “Cancel appointment”.
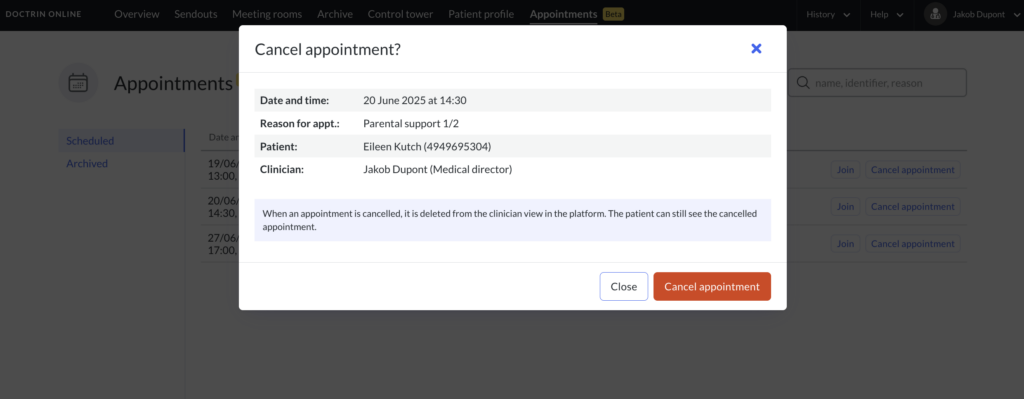
- A new window will show to ask you to confirm that this appointment should be cancelled.
Select “Cancel appointment”. The appointment is cancelled right away. It is not possible to restore it. It’s not saved in the tab “Archived”. - An SMS is sent to the patient(s) informing them about the cancelled appointment.
Reporting issues with the video functionality
Are you or another participant experiencing issues with the video functionality? Use the “Report a problem” button directly in the video view. The information is sent to the team responsible for improving video functionality. Do not include any sensitive information. For general support where you receive a response, please use the usual channels.
Updated on 2026-03-31